Fail2Ban is an intrusion prevention software framework that can protect your VPS by banning IPs that show malicious signs such as too many login failures.
To install Fail2Ban first install epel-release
sudo yum install epel-release
Now install Fail2Ban
sudo yum install fail2ban
Enable
sudo systemctl enable fail2ban
The default fail2ban configuration file is /etc/fail2ban/jail.conf.
It is not recommended to modify the original /etc/fail2ban/jail.conf directly.
Instead, we should configure the local copy called jail.local which will override the jail.conf file.
sudo cp /etc/fail2ban/jail.conf /etc/fail2ban/jail.local
Now open jail.local file in vi or any other editor
sudo vi /etc/fail2ban/jail.local
This is what the default fail2ban files looks like

I changed the default ban time to 36000 which is equal to 10 hours.
Monitoring ssh (sshd) logins has also been enabled.
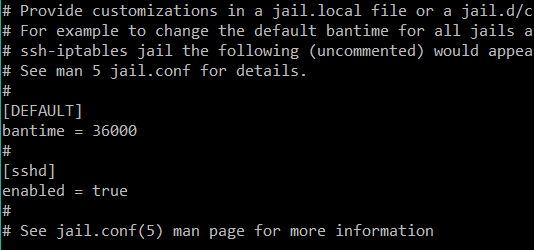
bantime = 36000 = 10 hours
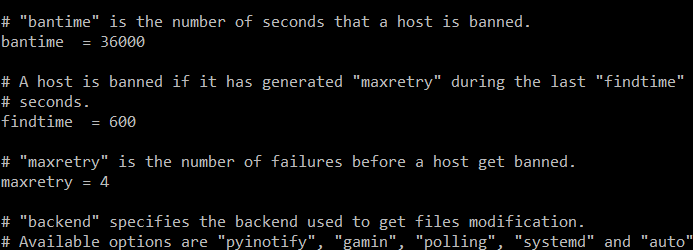
maxretry changed to 4 which is the number of failed attempts before a host is banned
findtime = 600 = 10 minutes : 4 unsuccessful login attempts within 10 minute window would lead to ban.
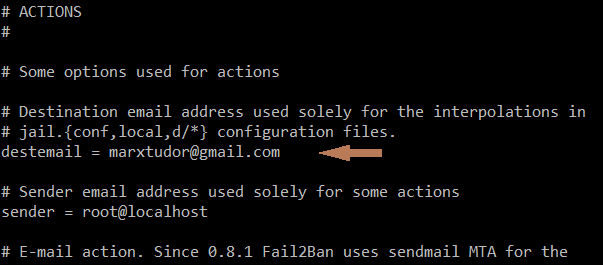
destmail = email where you want to receive ban messages and notifications.
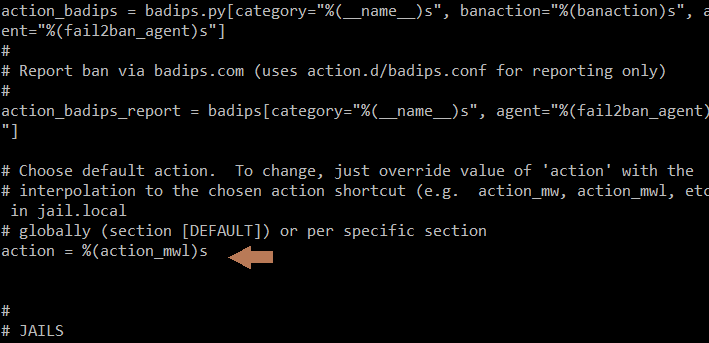
Change (action_)s to (action_mwl)s if you want to receive email alerts and logs. If you want only email alerts and no logs then (action_mw)s
After you are done save and quit the file and then restart Fail2ban
sudo service fail2ban restart
Or
sudo systemctl restart fail2ban
